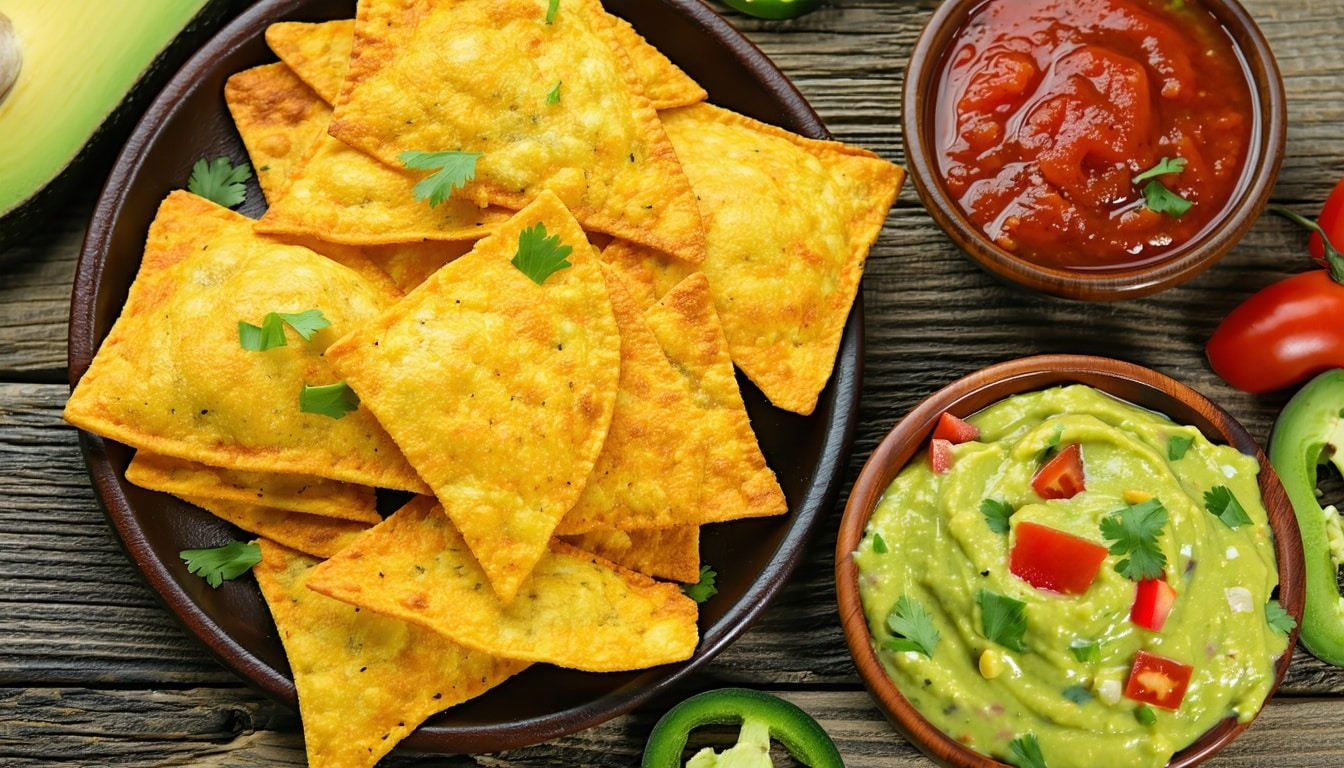
Ever craved something crunchy on your keto diet? These keto cheddar taco crisps might become your new favorite snack. They’re easy to make, require just a few simple ingredients, and give you that perfect crispy texture without the carbs. Whether you enjoy them on their own or top them with guacamole and sour cream, they can satisfy your taco cravings in a snap.
You’ll love how straightforward these are. From oven to table in minutes, these crisps let you skip the tortilla shells and dive into something both light and flavorful. Let’s jump right in.
Ingredients
- 2 cups shredded cheddar cheese (mild or sharp)
- 1 teaspoon taco seasoning (choose a blend without added sugar)
- Optional garnish: sliced jalapeños, diced tomatoes, or chopped cilantro
Directions
- Preheat your oven to 400°F (200°C).
- Line a baking sheet with parchment paper to keep the cheese from sticking.
- In a small bowl, combine the shredded cheddar cheese and taco seasoning. Stir gently so the seasoning is evenly distributed.
- Scoop roughly 1 tablespoon of the cheese mixture and place it on the parchment-lined sheet. Spread it out into a small circle, about 2-3 inches wide.
- Repeat until you’ve used all the cheese. Leave at least an inch between each circle so they don’t melt into each other.
- Bake for about 5-7 minutes, or until the edges turn golden brown. Keep an eye on them because they can go from perfect to overdone fast.
- Remove the baking sheet from the oven and let the crisps rest for about a minute. If you like a taco shell shape, drape each crisp over a rolling pin or the edge of a bowl while it’s still warm.
- Once fully cooled, top with optional garnish or eat them plain.
Nutrition facts
- Approximate calories per crisp: 70
- Fat: 5 g
- Protein: 4 g
- Net carbs: <1 g
Keep in mind, exact values can change based on the brand of cheese and seasoning you use.
Final thoughts
If you’ve been searching for a crunchy, keto-friendly way to enjoy taco flavors, these cheddar taco crisps are a quick win. They’re portable, fuss-free, and easy to customize. You can sprinkle on some chili flakes if you want extra heat, or keep it mild if you’re just after that cheesy crunch.
It’s a fast recipe that fits snugly into your day, whether you want to upgrade your lunch or spice up a late-night snack. Give them a go and see how they fit into your weekly meal routine.
Frequently asked questions (FAQs)
- Can I use other types of cheese?
Absolutely. Monterey Jack or a Mexican blend also works well. Just ensure it’s finely shredded so it melts evenly. - How do I store leftovers?
Let them cool completely, then place them in an airtight container. They stay crisp for a few days, but you’ll probably finish them sooner anyway. - Are these really that crunchy?
Yes, they’re crisp once they cool. Baking them just a bit longer will produce an even crunchier texture, but keep an eye to avoid burning. - Can I skip the taco seasoning?
You can skip it or even swap it for your favorite spice mixture. The base concept is just cheese crisps, so feel free to get creative.
Keto Cheddar Taco Crisps Recipe
Ingredients
2 cups shredded cheddar cheese (mild or sharp)
1 teaspoon taco seasoning (choose a blend without added sugar)
Optional garnish: sliced jalapeños, diced tomatoes, or chopped cilantro
Directions
- Preheat your oven to 400°F (200°C).
- Line a baking sheet with parchment paper to keep the cheese from sticking.
- In a small bowl, combine the shredded cheddar cheese and taco seasoning. Stir gently so the seasoning is evenly distributed.
- Scoop roughly 1 tablespoon of the cheese mixture and place it on the parchment-lined sheet. Spread it out into a small circle, about 2-3 inches wide.
- Repeat until you’ve used all the cheese. Leave at least an inch between each circle so they don’t melt into each other.
- Bake for about 5-7 minutes, or until the edges turn golden brown. Keep an eye on them because they can go from perfect to overdone fast.
- Remove the baking sheet from the oven and let the crisps rest for about a minute. If you like a taco shell shape, drape each crisp over a rolling pin or the edge of a bowl while it’s still warm.
- Once fully cooled, top with optional garnish or eat them plain.
