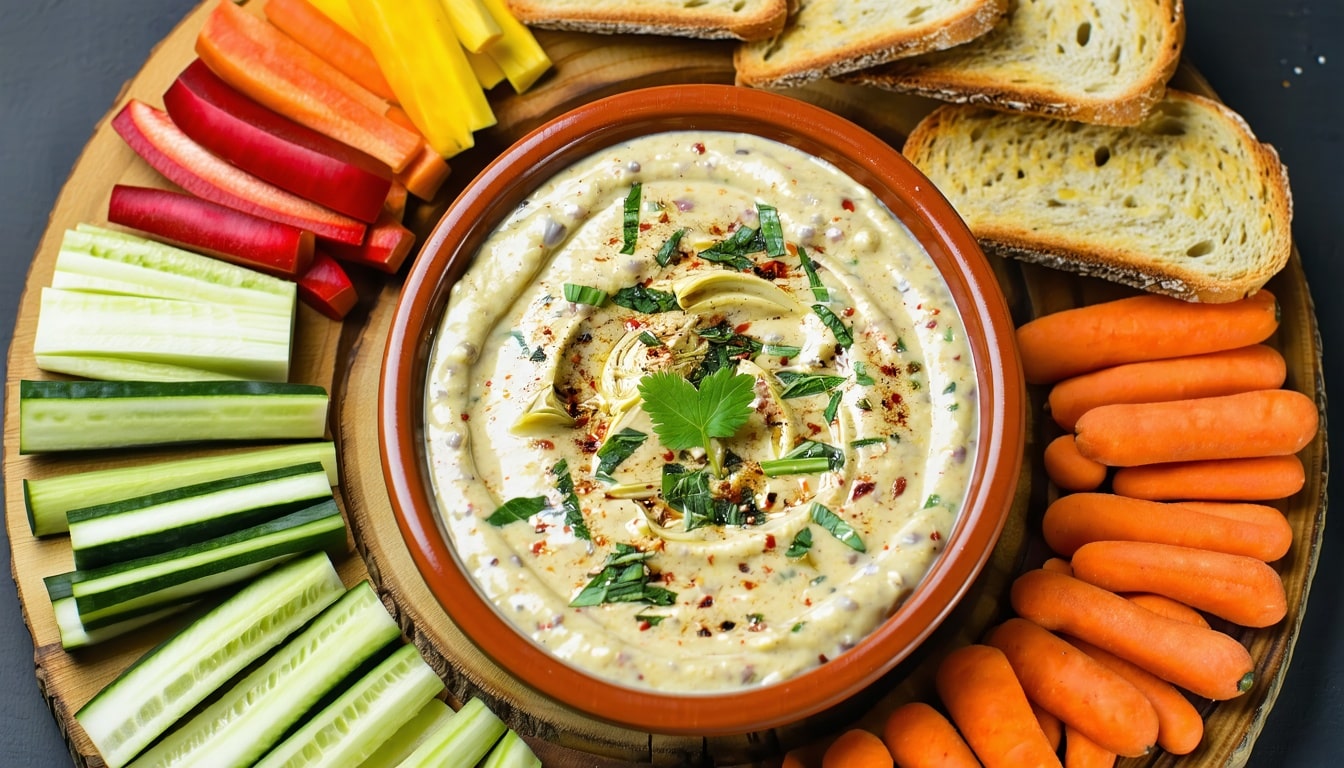
If you’ve been craving a warm, comforting dip that fits seamlessly into your gluten-free diet, this artichoke dip might just be your new favorite. It’s creamy, it’s cheesy, and it’s crowd-friendly. Most importantly, it steers clear of common gluten-filled ingredients, so you can scoop it up without any second-guessing. Ready to get started?
Ingredients
Here’s everything you’ll need for a small batch, but feel free to double up if you’re feeding a larger crowd:
- 1 can (14 ounces) artichoke hearts (drained and roughly chopped)
- 1 cup shredded mozzarella cheese (choose a gluten-free brand, if necessary)
- ½ cup grated Parmesan cheese
- ½ cup mayonnaise
- ½ cup sour cream (look for gluten-free on the label)
- 1 clove garlic (minced)
- Pinch of salt and pepper
- Optional: ¼ teaspoon paprika or chili flakes for a little kick
Tip: Always check labels on cheese and other packaged ingredients to ensure they’re gluten free.
Directions
- Preheat your oven to 350°F (175°C). Grab a small baking dish or oven-safe bowl to hold the mixture.
- In a mixing bowl, combine the chopped artichoke hearts, mozzarella, Parmesan, mayonnaise, sour cream, and minced garlic. Stir until everything is evenly mixed.
- Add a pinch of salt and pepper to taste. If you’re a fan of heat, toss in some paprika or chili flakes for an extra pop.
- Transfer the mixture to your baking dish, smoothing out the top for even browning.
- Bake for 20–25 minutes, or until the dip starts bubbling around the edges. You’ll know it’s done when it’s lightly golden on top.
Pro tip: Serve it hot with your favorite gluten-free crackers, veggie sticks, or even toasted gluten-free bread.
Nutrition facts
Exact numbers can vary, but here’s an approximate breakdown per ¼ cup serving:
| Nutrient | Approximate Amount |
|---|---|
| Calories | ~150 |
| Total Fat | ~10 g |
| Carbohydrates | ~5 g |
| Protein | ~8 g |
| Sodium | ~280 mg |
This dip can be fairly rich. Pair it with lighter sides and fresh veggies to balance out your snack or meal.
Final thoughts
Everyone deserves a piece of the creamy, savory dip action, and going gluten free shouldn’t mean missing out. This artichoke dip is a cozy crowd-pleaser, perfect for holiday gatherings or a simple weekend treat. It warms up nicely if you have leftovers, so you can enjoy it later without losing any of that rich flavor.
Frequently asked questions (FAQs)
-
Can I use fresh artichokes instead of canned ones?
Absolutely. Just boil or steam fresh artichoke hearts until tender, then chop them before following the rest of the recipe. -
How should I store any leftovers?
Let the dip cool to room temperature, then keep it in an airtight container in the fridge. It’ll stay good for up to three days. -
Can I make this dip dairy free?
You can experiment with dairy-free alternatives like vegan cheese and mayonnaise. Just make sure they’re labeled gluten free if needed. -
Is there a substitute for sour cream?
Yes. Plain Greek yogurt works well, though it may slightly alter the flavor.
I hope you give this dip a try. It’s delicious, comforting, and fits right into your gluten-free lifestyle. Enjoy!
Gluten-Free Recipe for Artichoke Dip
Ingredients
1 can (14 ounces) artichoke hearts (drained and roughly chopped)
1 cup shredded mozzarella cheese (choose a gluten-free brand, if necessary)
1/2 cup grated Parmesan cheese
1/2 cup mayonnaise
1/2 cup sour cream (look for gluten-free on the label)
1 clove garlic (minced)
Pinch salt and pepper
1/4 teaspoon Optional: ¼ teaspoon paprika or chili flakes for a little kick
Directions
- Preheat your oven to 350°F (175°C). Grab a small baking dish or oven-safe bowl to hold the mixture.
- In a mixing bowl, combine the chopped artichoke hearts, mozzarella, Parmesan, mayonnaise, sour cream, and minced garlic. Stir until everything is evenly mixed.
- Add a pinch of salt and pepper to taste. If you’re a fan of heat, toss in some paprika or chili flakes for an extra pop.
- Transfer the mixture to your baking dish, smoothing out the top for even browning.
- Bake for 20–25 minutes, or until the dip starts bubbling around the edges. You’ll know it’s done when it’s lightly golden on top.


